I was approached by Kristen from Rustic Romance Crafts to see if I could quill her logo. She recently had this logo designed for her and I fell in love with it at first glance!
Isn't it gorgeous? It is so flowing and whimsical, perfect for quilling. The only issue I had with it is all the black. It is hard to quill with black. Since the paper stands up it casts a small shadow. If you have black paper with the shadow in tight coils, you can't really see the coils. So I decided to flip the colors. I chose a grey background, put the tree as white, and alternated between white, grey, and black hearts.
As with my other tree, I started with just the basic outlines.
The hearts were not glued down. They were just there for reference. Also I have not glued at this point. I like to lay out the papers first to see if I need any adjustments
This is when I started filling in branches. I glued down the basic outline, and then laid out the fillers.
Once I had all the branches complete and glued, I started adding the hearts.
I used some waves to fill in the trunk and voila:
One gorgeous recreated logo! It really was fun having the freedom to change certain items and I can not be happier with how this came out.
What do you think? Please leave your thoughts in the comments!
Also, check out Rustic Romance Crafts shop on Storenvy! She makes charming burlap home decor and I can't wait to get one of her wreaths!
Monday, June 30, 2014
Wednesday, June 25, 2014
Quilled Surfboad
I really had a fun time putting together this surfboard. I requested to join an online auction and the theme was Fun in the Sun. There were so many ideas for to me to choose from, but I am glad I chose the surfboard.
To make the shape I started making an outline with pins on a styrofoam board. I was afraid if I just placed the paper down freehand it would end up to uneven. After I placed the pins I wrapped the paper strips around it.
The next step was to put some glue onto the top of the strips and then carefully place the canvas tile on top. I let the glue set for an hour, then flipped the whole piece and took off the styrofoam board.
Now comes the designs. I chose grey, coral, blue, and white with a little touch of yellow. I knew I wanted a flower shaped like this and thought it would look great toward the top.
I wanted the surfboard broken up into three sections. Each section would get a flower. Once I added the middle flower I knew that top flower had to be moved up more.
Here is the lower flower.
I filled in the top flower with some honeycombs.
A lot of times I will lay out my strips and see how it looks before I glue it down. After seeing this I decided it needed to be filled in a lot more.
I think it looked much better with more coils.
I did the top and bottom greys, then started the blues.
I had a really hard time deciding on the middle section. I originally wanted to have it fully white. After I laid it out you couldn't see the flower well. In order to break up all the white I threw in some coral S's.
Here is middle filled in.
The waves turned out so much prettier than I planned. They have to be my favortie part of this piece.
Here it is all framed and ready for auction!
This is my only surfboard and I may not make another. If I do it will be a completely different design. It can only be bought in this weekend's auction June 27-30 at Auction Junkies Facebook page.
What do you think of this Surfboard?
Thursday, June 5, 2014
Cupcake cards
I am hard at work on my Fun in the Sun Project, but I had to take a little break to make up some cute cards!
From doing a little research I have heard mixed opinions about mailing quilled cards. Some say they can, some say they can't. So I thought I would test out that theory by mailing 2 cards to a volunteer. I sent one card in a regular envelope, and sent a second one in a small bubble mailer. Hopefully one will reach her intact! Once she receives them she will take pics for me, so I can see how they held up. I really want to offer some cards in my shop, but I have a feeling they will only be available for people who hand cards to their recipients. When I get the results I will let you know!!
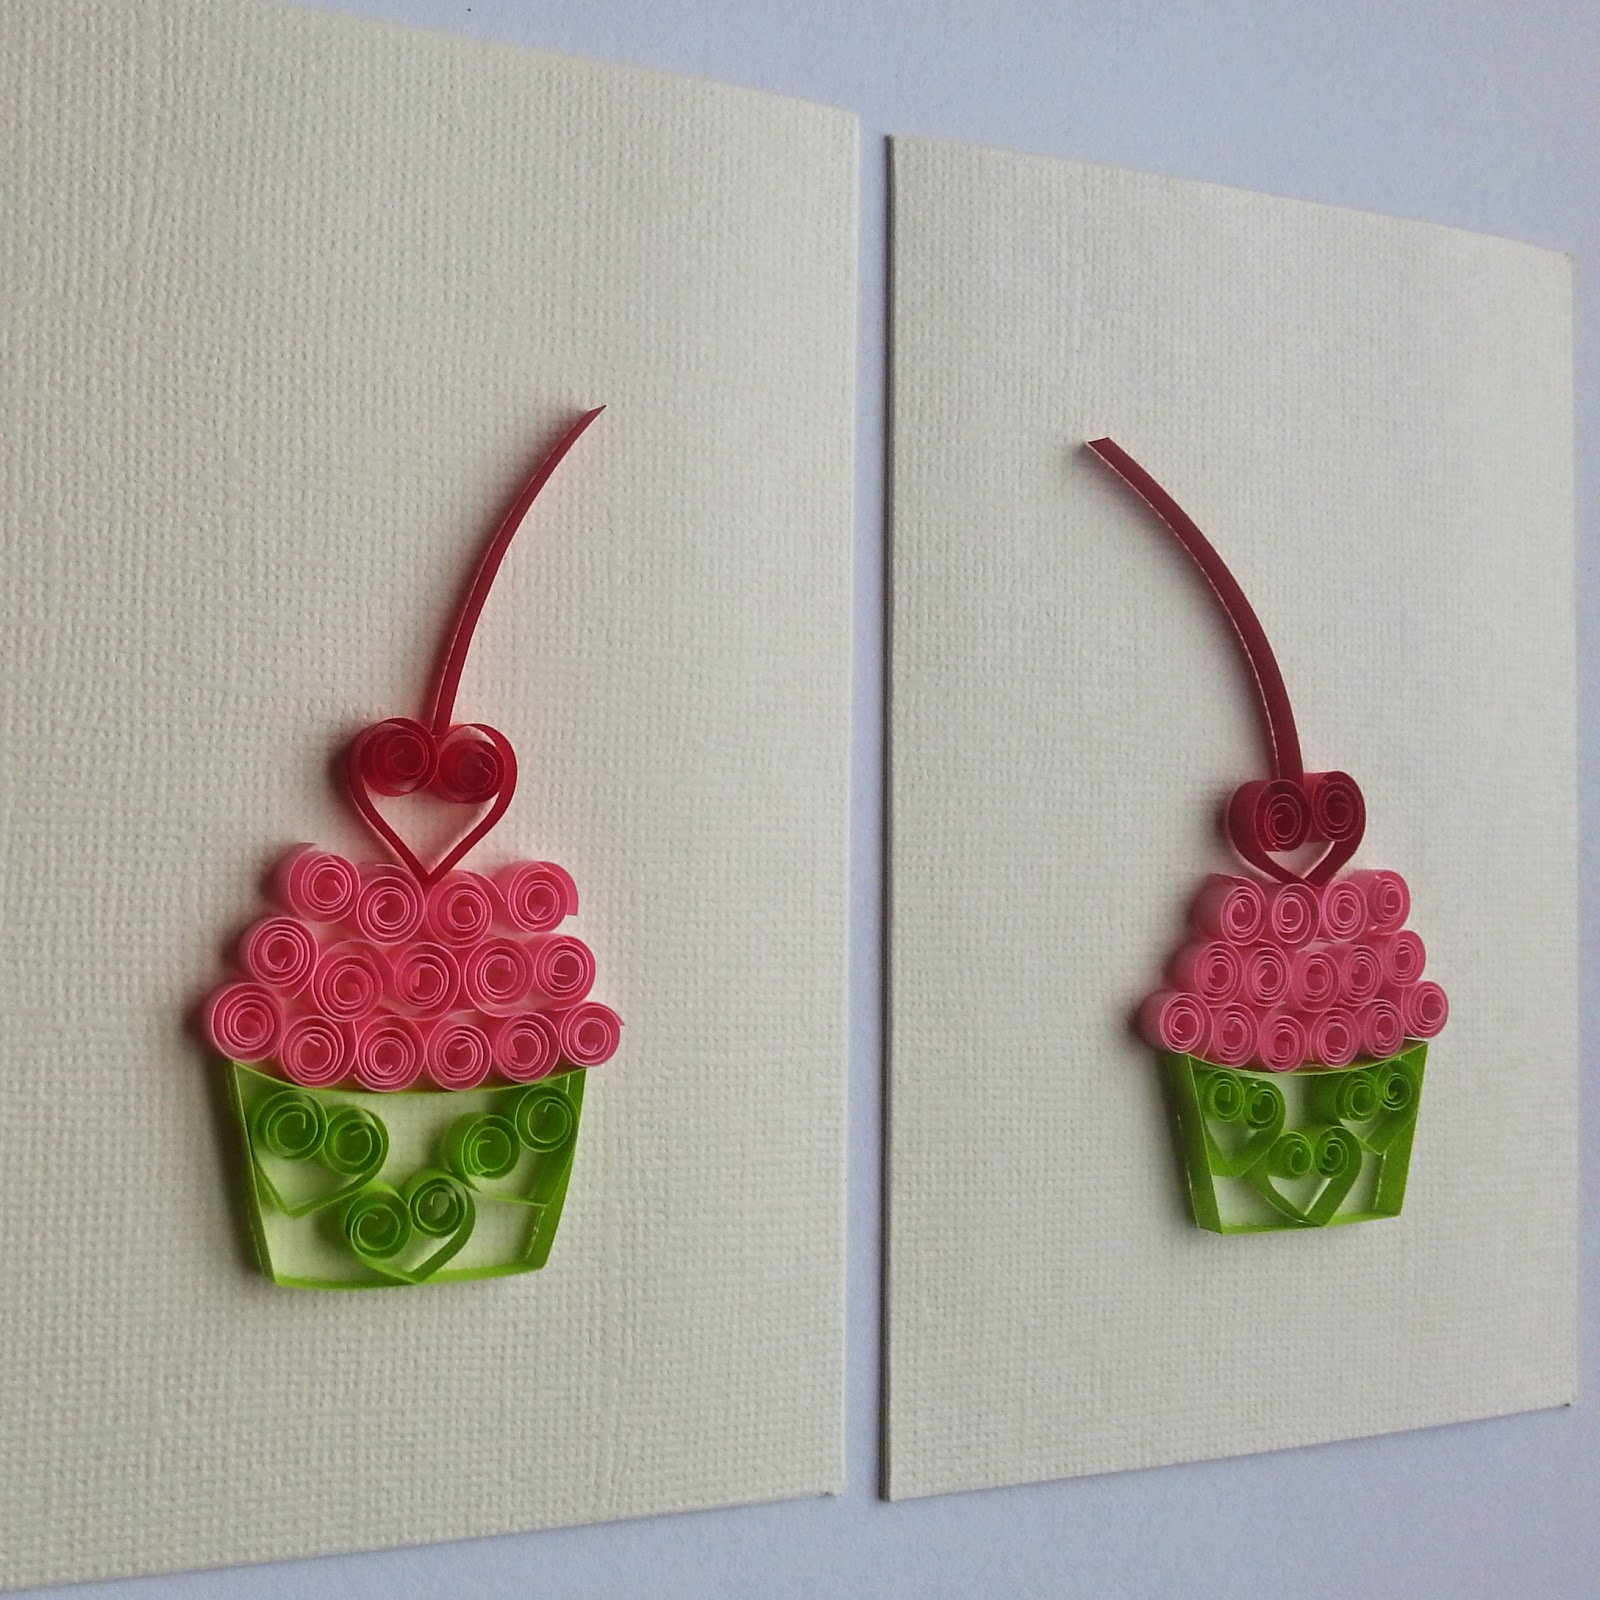
Meanwhile, here is what I came up with:
For a true test I wanted to make sure I had some different coils. Some tight and close, some with a little space, and just one long strip.
Here is a close up shot of the cupcake:
Wouldn't this be the cutest birthday card? I really hope they hold up in the mail, I had so much fun putting these cards together!
Subscribe to:
Posts (Atom)


